

- Cheap - use off the shelf big box materials.
- Simple - the components need to be easy to make, install and maintain.
- Flexible - as my needs and the shop change, it needs to change with me rather than against me.
- Strong - hold as much weight as physically possible, ideally it'd be able to hold me.
- Standard - all of the components should be standardized so any accessories can be easily made.
To achieve this I came up with a system that uses French cleats and pegboard. I've been using various types of cleats to hold things up for quite some time, mostly in the house so I started using them in the shop. Pegboard because I have years worth of pegboard hooks and I'm not going to throw them away (or garage sale them, sorry).
The first thing is to build a 2"x2" frame that the pegboard and cleats will be secured to. I used plain old 2"x2" pieces from Menards since they're right around $1 for an 8' piece. For the "standard" part of the requirements I, like any other woodworker, made jigs.

The first ones you want to make are simple, cut a few 2"x3" pieces to 6 5/8" long. Yes, it's just a piece of wood but it counts as a jig. Really. Now, take a marker and write that length on it because you'll forget what it was. These are the pieces i'll use to separate the 2"x2" frame that i'm going to make. So... On to making a frame.


I pulled out the stud finder and marked the locations of all the studs on the wall. Then, using a level, I drew a line top to bottom the entire length of that stud. These are the points where i'll screw the frame to. Then, as you can see above, all I did was build a simple frame, starting with the left and right sides then ran 2"x2" pieces between them. I used those 6 5/8" setup pieces to make sure they're all the same distance apart working top to bottom. The clamps are handy for those crappy warped $1 2"x2" pieces I got. I didn't take my frame all the way to the bottom, I figured that would be occupied by foot space and such so I planned on using just the pegboard there.

I repeated this process all the way around your shop as far as I wanted to go. In this case I did one corner to start with. After that's finished I cut pegboard to fit and installed it all the way around with a 16 gauge nail gun. There's no need to screw the pegboard up, nails are fine, the cleats will hold it up in the end.

Now, I grabbed a store bought 1"x4"x8', set the table saw fence to 1 1/4" from the blade and tilted it to a 45 degree angle. That 1 1/4" is exactly half of that 1"x4" with the blade at 45 degrees. The flat part of this piece also happens to be exactly the thickness of a store bought 2"x2" (since they're not 2").
Run the whole 1"x4" through the saw so there are (2) 8' pieces, get some help if necessary. Or some roller stands, your choice. They're now "cleats".
 |
| Small cleats |
 |
| An 8' piece |
Starting at the top of the pegboard, screw the cleat to the first 2"x2" so the 45 is the only bit exposed, I made yet another jig to help me line up the screws evenly across the board.
 |
| The screw jig |
To make sure you're hitting the next 2"x2" in the frame I made another little jig to set between the cleat pieces. They're just scraps of 1"x4" and are the same pieces I'll use when I install cleats on the accessories. And again, grab the market and label them, you're going to use these for a LONG time.


Then you're guaranteed they'll all line up on the 2"x2" all the way down.

Repeat that installation over all of the 2"x2" framed pegboard and that's it. You'll be able to use the pegboard with the hooks you already own and can start adding cleated accessories over time.
When you're spouse asks what you're doing out in the shop just say "cleating on you"...
Or you're the worlds best cleater...

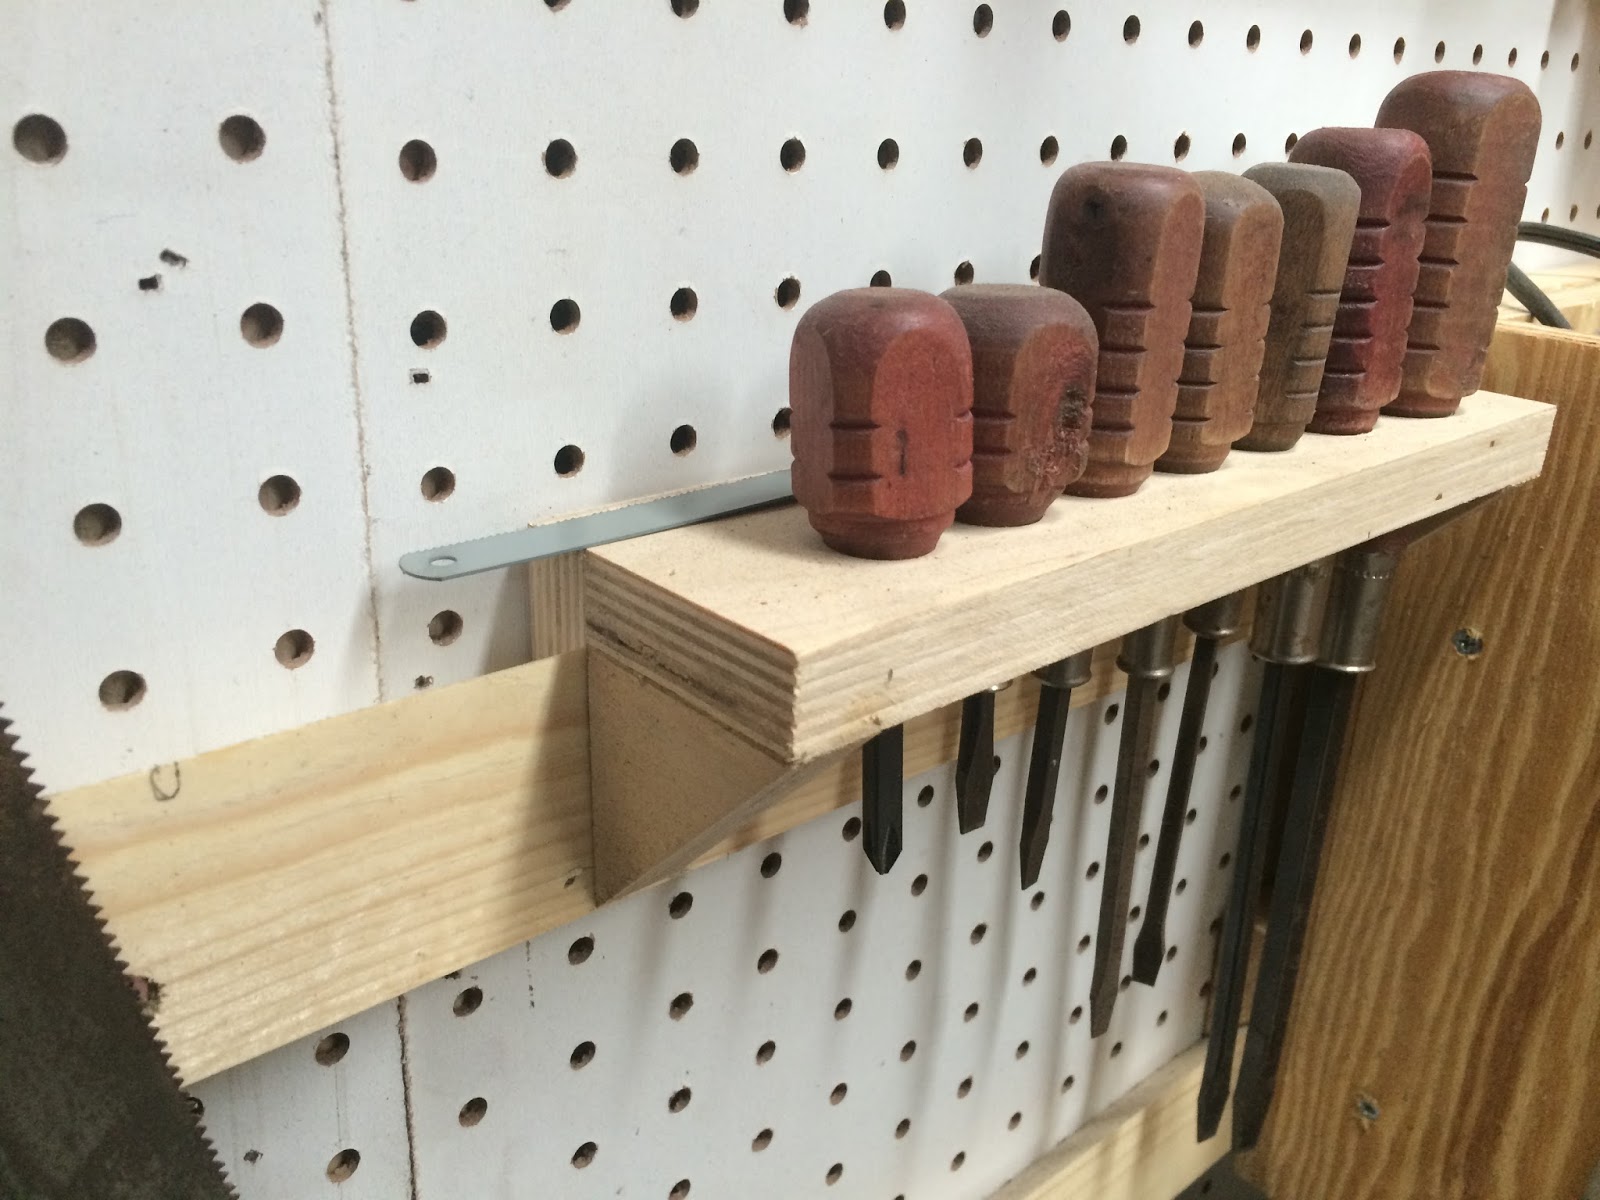
I've made all sorts of accessories for these, just flip the cleats over and use those same 6" spacers. Here are some ideas.


Love the cleat and pegboard setup! For anyone needing extra storage for tools or seasonal items, you can More info here at Caddo Mills Climate Storage and keep everything safe and organized.
ReplyDelete